A vinyl plank floor can look almost perfect until one open joint catches your sock, collects dirt, or creates a visible dark line across the room. Knowing how to repair vinyl plank seams starts with identifying why the planks separated. A gap caused by normal movement may need a simple reset. A gap caused by moisture, a failed locking edge, or an uneven subfloor needs a more careful repair.
Vinyl plank flooring is durable, water-resistant, and a strong value for homes, rentals, and commercial spaces. Still, it is not maintenance-free. Heat, direct sun, heavy furniture, moisture below the floor, and installation mistakes can all put stress on plank joints. Address the cause along with the visible gap, and the repair has a much better chance of lasting.
Why Vinyl Plank Seams Open Up
Most floating luxury vinyl plank floors use a click-lock system. Each plank locks into the next one without nails or permanent adhesive. That makes installation efficient, but it also means the floor needs room to expand and contract as temperatures change.
A seam may separate when the perimeter expansion gap is missing or blocked. For example, flooring installed too tightly against walls, cabinets, door frames, or a kitchen island cannot move as one connected surface. Pressure builds, and the locking joints can pull apart elsewhere in the room.
Los Angeles properties can also see significant temperature changes near large windows, sliders, and west-facing rooms. Extended direct sunlight can heat the surface enough to make planks expand. When the floor cools, a stressed joint may no longer sit tightly together.
Other common causes include an uneven subfloor, loose or broken click-lock tabs, heavy rolling loads, and moisture issues. Water on the surface is usually less concerning with quality waterproof vinyl, provided it is cleaned promptly. Moisture coming from a concrete slab or a plumbing leak underneath the flooring is more serious. It can affect the underlayment, encourage mold, and create movement that no seam repair alone will solve.
Inspect the Gap Before You Repair Vinyl Plank Seams
Start by cleaning the open seam with a vacuum and a dry microfiber cloth. Grit inside the joint can prevent the planks from reconnecting properly. Do not force the edges together while dust, pet hair, or adhesive residue is trapped in the gap.
Then look closely at the condition of both plank edges. If the edges are flat, clean, and undamaged, the seam may simply need to be shifted back into place. If the edges are chipped, curled upward, or visibly crushed, the locking mechanism may have failed. A damaged plank generally needs replacement rather than a cosmetic filler.
Check the surrounding floor as well. Are there several open seams, or only one? Does the floor feel soft, bounce, or dip when you walk across it? Is the gap near an exterior door, dishwasher, bathroom, or sunny window? These details help distinguish a localized repair from a larger installation issue.
A single small gap in an otherwise stable floor is often repairable. Repeated gaps across a room, buckling, or movement underfoot points to a problem with the floor system, not just one joint.
A Safe Fix for a Single Click-Lock Gap
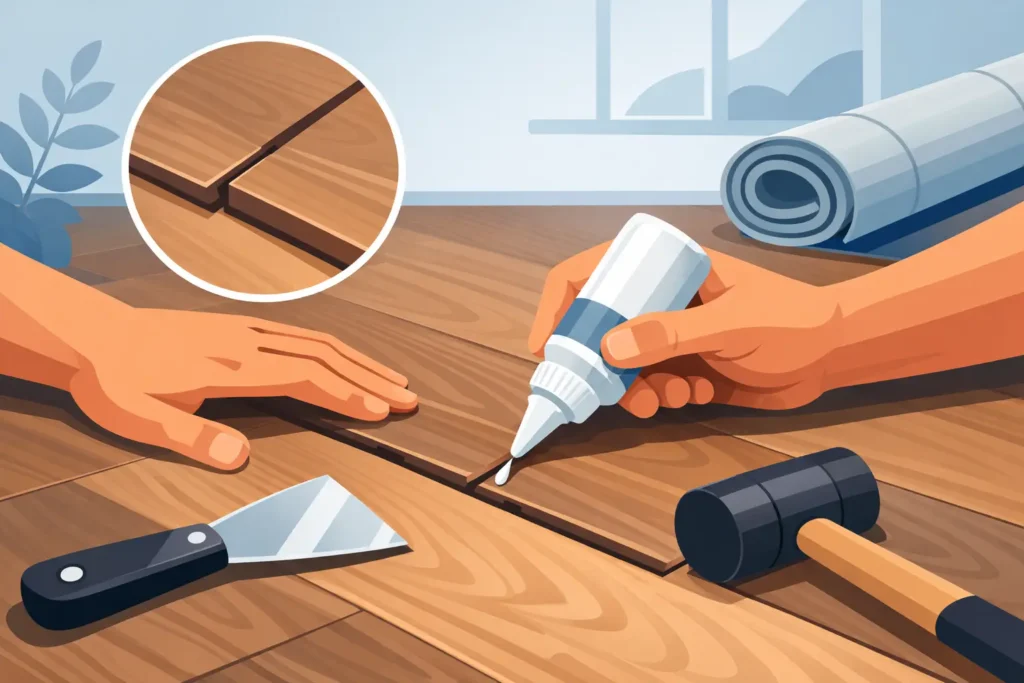
For a minor seam separation in a floating vinyl plank floor, the goal is to move the plank back into the locked position without damaging its wear layer. A flooring gap fixer, also called a plank puller, can work well. This is a flat tool with a high-grip adhesive surface that attaches to the top of the plank, allowing you to tap it sideways with a rubber mallet.
Make sure the floor is fully dry and clean before placing the tool. Set it firmly on the plank that needs to move, then use light, controlled taps to guide that plank toward the open seam. Stop once the seam closes and sits level. Too much force can crack the locking edge or create another gap farther down the row.
If you do not have a purpose-made gap fixer, avoid improvising with metal pry bars, screwdrivers, or hammers directly on the flooring. These methods can dent the plank, scratch its protective finish, or break the joint. They can also leave a repair that looks worse than the original gap.
Once the seam is closed, remove the tool carefully and inspect the joint from standing height and at floor level. The edges should sit flush, with no raised lip. Walk across the area to confirm the planks feel stable.
When a Plank Must Be Removed and Reinstalled
The correct repair becomes more involved when the seam will not stay closed, the joint is damaged, or the affected plank sits in the middle of the room. Click-lock flooring is assembled in a specific order, so repairing a center plank may require taking up planks from the nearest wall back to the damaged area.
This process usually involves removing baseboards or shoe molding, releasing the rows one at a time, replacing the damaged plank, and reinstalling the floor with proper expansion space. The existing planks must be handled carefully. Older click-lock edges can become brittle, and repeated disassembly may cause additional damage.
Some professionals use a cut-in repair for an isolated plank, especially where removing half the room is impractical. This method requires precise cutting and may use flooring adhesive at selected edges because the replacement plank cannot be installed through the normal locking sequence. It can be an effective solution, but it is not a good first DIY project. A small measuring or cutting error can leave visible gaps, uneven edges, or a weak repair.
Do Not Fill the Seam With Caulk or Wood Filler
It is tempting to hide an open seam with caulk, putty, or wood filler. For floating vinyl plank flooring, that is usually the wrong solution. These floors are designed to move slightly as a unit. A rigid filler can crack, attract dirt, or prevent the planks from moving as intended.
Filler also does not restore a broken click-lock joint. It may make the gap less visible for a short time, but the seam can reopen or worsen with normal floor movement. The exception is a product specifically approved by the flooring manufacturer for a particular repair. Even then, it should be used only after the source of movement is addressed.
Adhesive is another material to use cautiously. Glue should not be injected into a standard floating-floor seam unless the product manufacturer or a flooring professional has determined that a localized adhesive repair is appropriate. Glue in the wrong place can lock sections of the floor together, transfer stress to other joints, and complicate future repairs.
Prevent New Gaps After the Repair
A seam repair will hold better when the floor has the conditions it needs. Keep indoor temperatures reasonably stable, and use blinds, shades, or window film where intense sun regularly heats the flooring. Place furniture pads under heavy items and avoid dragging appliances or furniture across the planks.
For offices, retail spaces, and rental properties, pay attention to rolling chairs, carts, and concentrated traffic paths. A quality chair mat or appropriate commercial-rated vinyl plank can prevent repeated stress at the same joints. In wet areas, clean spills promptly and investigate any recurring moisture rather than assuming waterproof planks will protect against every source of water.
It also helps to inspect transitions and perimeter molding. Baseboards and quarter-round should cover the required expansion space without pinning the floor tightly in place. Door jambs, built-in cabinets, and transitions often reveal installation pressure that was not obvious when the floor was new.
When to Call a Flooring Professional
Professional assessment is the practical choice when seams keep reopening, multiple rows are separating, or the floor shows buckling and unevenness. It is also wise to call for help when you suspect a slab moisture issue, a plumbing leak, or a subfloor problem. Repairing the visible joint without correcting those conditions can lead to repeat damage and unnecessary expense.
A flooring professional can identify the plank system, check whether replacement material is still available, evaluate expansion gaps, and determine whether a reset, plank replacement, or partial reinstall is the most cost-effective answer. For homeowners and property managers, that can be far less disruptive than waiting until a small seam failure spreads across the room.
Magnet Flooring helps Los Angeles-area homeowners and businesses diagnose vinyl plank problems before recommending a repair. The best next step is not always replacing the entire floor. When the underlying installation and subfloor are sound, a precise repair can restore the clean, durable finish you chose vinyl plank for in the first place.